Hi, I'm Maya, and I take TRYNGOLZA. When I first started using TRYNGOLZA, I had questions about the injection process. You might, too—that is completely normal. Once I understood the steps, the entire process became straightforward.
Now it's part of my routine, and today I'm going to walk you through exactly how to inject TRYNGOLZA using the autoinjector, so you can feel confident each time you inject.
We'll walk through this process one step at a time, so nothing feels rushed or overwhelming. Let's start with a few basics.
TRYNGOLZA comes in a convenient single-dose autoinjector that you can use at home or on the go. You should do your injection in a place where you feel comfortable.
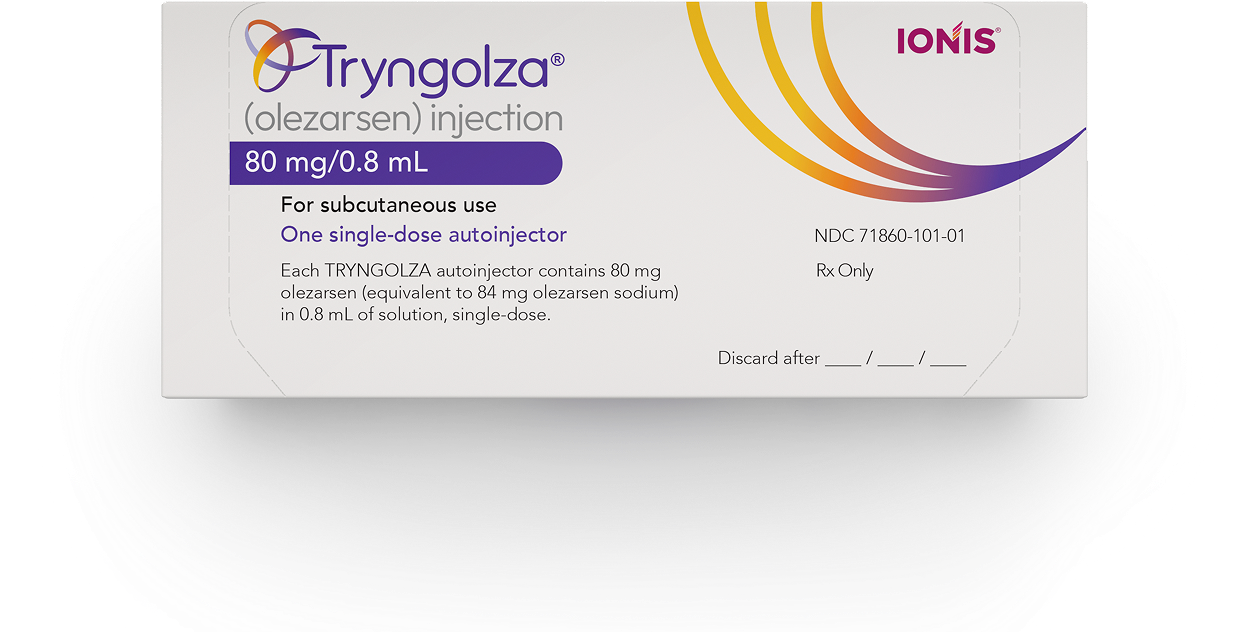
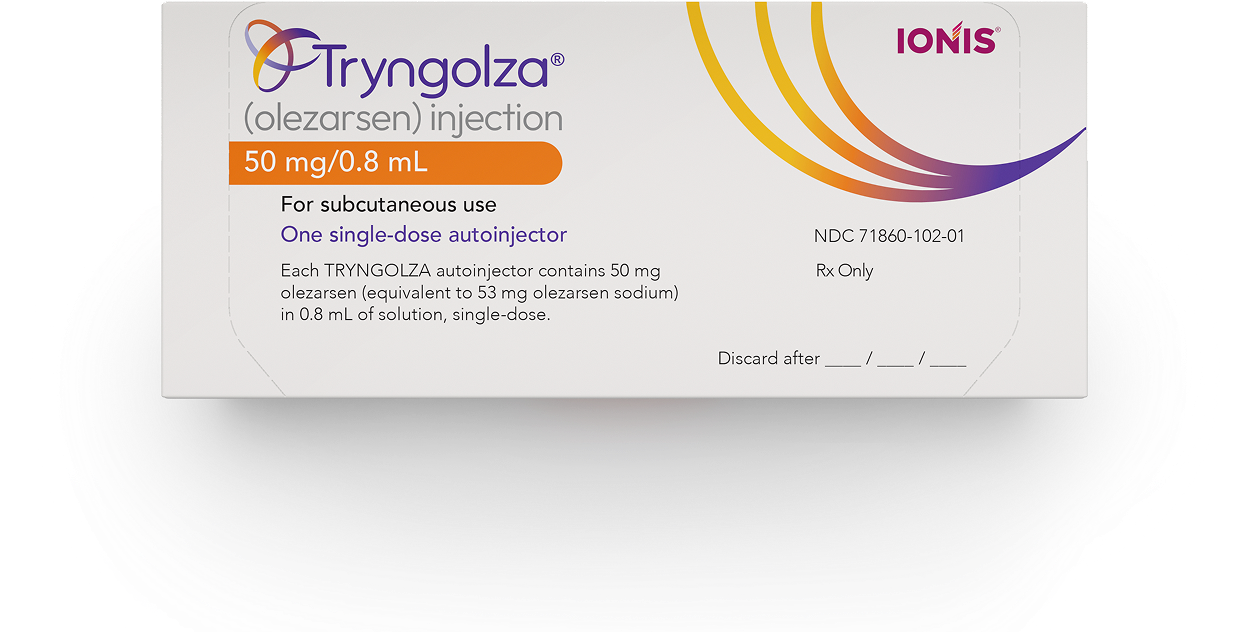
It's available in 50- and 80-milligram doses, depending on what your healthcare provider prescribes. The label on your autoinjector may look slightly different depending on the dose, but the injection steps are exactly the same.
Each autoinjector contains 1 dose and is meant to be used only once. You'll inject it on the same day each month.
When I inject, I like to choose a space that feels familiar and I take the injection at roughly the same time of day. It helps make the process feel a little more predictable.
I also like to set a reminder on my phone so I don't forget.
Before your first injection, your healthcare provider will show you—and, if needed, your care partner—how to use the autoinjector.
Be sure to read the complete Instructions for Use and Patient Information that are available on TRYNGOLZA.com, and included in the packaging.
Now let's prepare for the injection.
Before I start, I make sure I have my autoinjector and a few other supplies I'll need so I'm not searching for anything while I'm injecting. That includes an alcohol wipe, gauze or a cotton ball, a small bandage, and a sharps container.
If you've been storing your autoinjector in the refrigerator, take it out and let it come to room temperature for 30 minutes before injecting. I usually take mine out while I'm getting ready in the morning. That way, it's ready when I am.
Let it warm up on its own. Don't try to speed things up with a microwave or hot water.
While it's coming to room temperature, let's take a quick look at the packaging.
You'll see the dose strength clearly listed on the front of the carton. Since I take the 80-milligram dose, the label here is purple.
But depending on what your healthcare provider prescribed, yours may look slightly different. Remember, no matter which dose you're prescribed, the injection process is exactly the same.
Now let's take the autoinjector out of the carton.
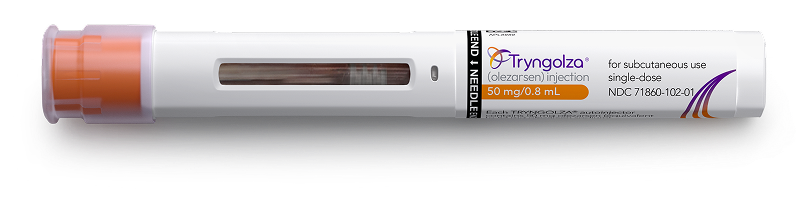
This clear cap fits over the orange needle shield and helps protect the needle. Under the orange needle shield is the needle itself. Here's the viewing window—you'll be able to see the medicine and the orange plunger rod through it.
It's important to inspect your autoinjector before use. Once it's warmed, check the expiration date on the label, and make sure the clear cap is securely attached. If the expiration date has passed, or the clear cap isn't in place, don't use the autoinjector.
Next, look at the medicine through the viewing window. It should be clear and colorless to yellow, without particles. Small air bubbles are normal.
Now it's time to choose an injection site.
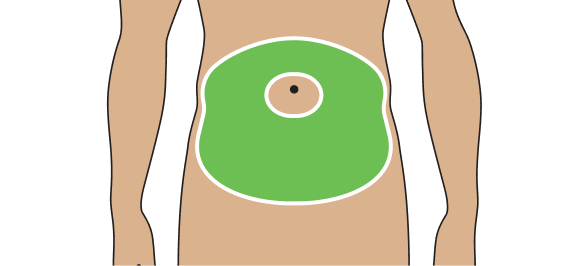
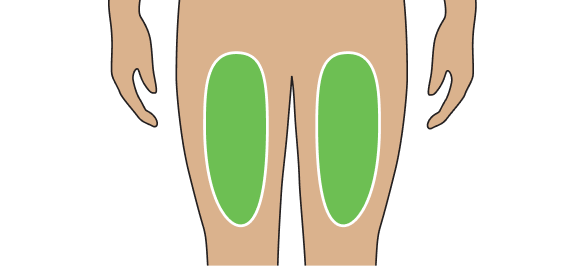
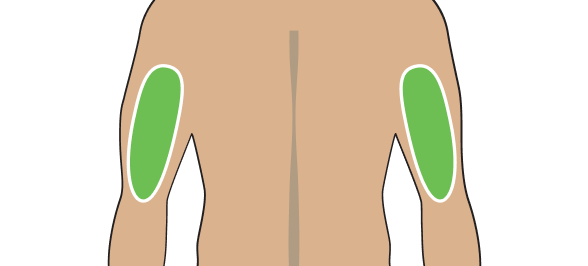
You can inject into your abdomen or the front of your thigh. If someone is helping you, the back of the upper arm is also an option. If you're injecting into your abdomen, choose a spot at least 2 inches away from your belly button.
No matter where you inject, avoid areas that are bruised, tender, red, hard, or scarred.
For today's demonstration, I'll be using the front of the thigh.
Before injecting, I always wash my hands with soap and water. After washing my hands, I like to sit somewhere comfortable, usually the same spot each month. It helps me feel settled. Then I clean the injection site with an alcohol wipe, using a gentle circular motion. Let the skin air dry. It only takes a moment. Once it's dry, we're ready to move on.
First, hold the autoinjector in the middle, with the clear cap and needle facing away from you. Next, pull the clear cap straight off, making sure not to twist it. Go ahead and dispose the clear cap in your sharps container. What you're seeing now is the orange needle shield. The needle stays protected underneath it. Avoid pushing the shield against your hand or finger.
Now we can begin the injection.
Place the orange needle shield flat against the skin at a 90-degree angle and make sure you can see the viewing window.
Push firmly and hold straight against the skin. You'll hear a click when the injection begins. You may hear a second click, too. Don't worry, that's normal. The injection isn't finished yet.
Hold it in place for 10 seconds to make sure the full dose is delivered. Keep the device steady the entire time. Steady pressure helps prevent what's sometimes called a "wet," or pre-activated, injection, where the medication leaks onto the skin.
After 10 seconds, check the viewing window. The orange plunger rod should have moved down to fill it completely. If it hasn't, you may not have received the full dose. In that case, contact your healthcare provider. If it has, the dose is complete.
If everything looks complete, lift the autoinjector straight up. After removal, the orange needle shield automatically locks into place and covers the needle. Because the autoinjector is for single use only, place it in a sharps container right away. Do not throw it away in your household trash.
You may notice a small amount of blood or liquid at the injection site. Don't be alarmed. If needed, you can gently press a cotton ball or gauze on the area and apply a small bandage.
And that's the full injection process. Once you've done it a couple of times, it becomes part of your routine, just like it did for me.
I hope walking through it together helps you feel more comfortable when it's your turn to inject TRYNGOLZA. If you ever have questions, speak with your healthcare provider.
Please read or listen to the Important Safety Information that follows.
INDICATIONS
TRYNGOLZA (olezarsen) is a prescription medicine used along with diet to:
- Reduce triglycerides (fat in the blood) in the treatment of adults with a condition that keeps the body from breaking down fats called familial chylomicronemia syndrome (FCS).
- Reduce triglycerides and reduce the risk of acute inflammation of your pancreas (pancreatitis) in the treatment of adults with a condition marked by very high levels of triglycerides in the blood called severe hypertriglyceridemia (sHTG).
It is not known if TRYNGOLZA is safe and effective in children.
IMPORTANT SAFETY INFORMATION
Do not use TRYNGOLZA if you have had a serious allergic reaction to TRYNGOLZA or any of the ingredients in TRYNGOLZA.
Before using TRYNGOLZA, tell your healthcare provider about all of your medical conditions, including if you: are pregnant or plan to become pregnant, or are breastfeeding or plan to breastfeed. It is not known if TRYNGOLZA can harm your unborn baby, or if it passes into your breast milk and if it can harm your baby.
Tell your healthcare provider about all the medicines you take, including prescription and over-the-counter medicines, vitamins, and herbal supplements.
What are the possible side effects of TRYNGOLZA?
TRYNGOLZA can cause side effects including allergic reactions that may be serious. Allergic reactions can include redness of the skin, red itchy bumps (hives), swelling of the face, chills or trouble breathing. Stop taking TRYNGOLZA and call your healthcare provider or get emergency help right away if you have any of these symptoms.
TRYNGOLZA can cause increases in liver enzymes and fat stored inside the liver. Your healthcare provider may do liver tests before you start taking TRYNGOLZA or if there is an increase in your dose. Tell your healthcare provider right away if you have the following symptoms: feeling tired or weak, right upper stomach discomfort, yellowing of the skin and eyes, loss of appetite, or dark colored urine.
The most common side effects of TRYNGOLZA in people with FCS include injection site reactions (such as redness, itching, rash, or pain at the injection site), decreased platelet count (blood cells that help to clot blood), and joint pain or stiffness.
The most common side effects of TRYNGOLZA in people with sHTG include injection site reactions (such as redness, itching, rash, or pain at the injection site) and increased liver enzymes.
These are not all the possible side effects of TRYNGOLZA. Tell your healthcare provider or treatment team about any side effect you may have.
You are encouraged to report negative side effects of prescription drugs to the FDA. Visit www.fda.gov/safety/medwatch, or call 1-800-FDA-1088.
Please see full Prescribing Information and Patient Information for TRYNGOLZA, also available at TRYNGOLZA.com.